Use CoinPayments in your Enterprise
Now that you’ve got completed establishing your CoinPayments account and adjusting the settings to your liking, it’s time to maneuver on to the following step.
That is the place the main points you recorded in STEP 1 will probably be used (Service provider ID, IPN Secret, API Public Key, API Non-public Key), with the intention to hyperlink your eCommerce retailer to your CoinPayments account.
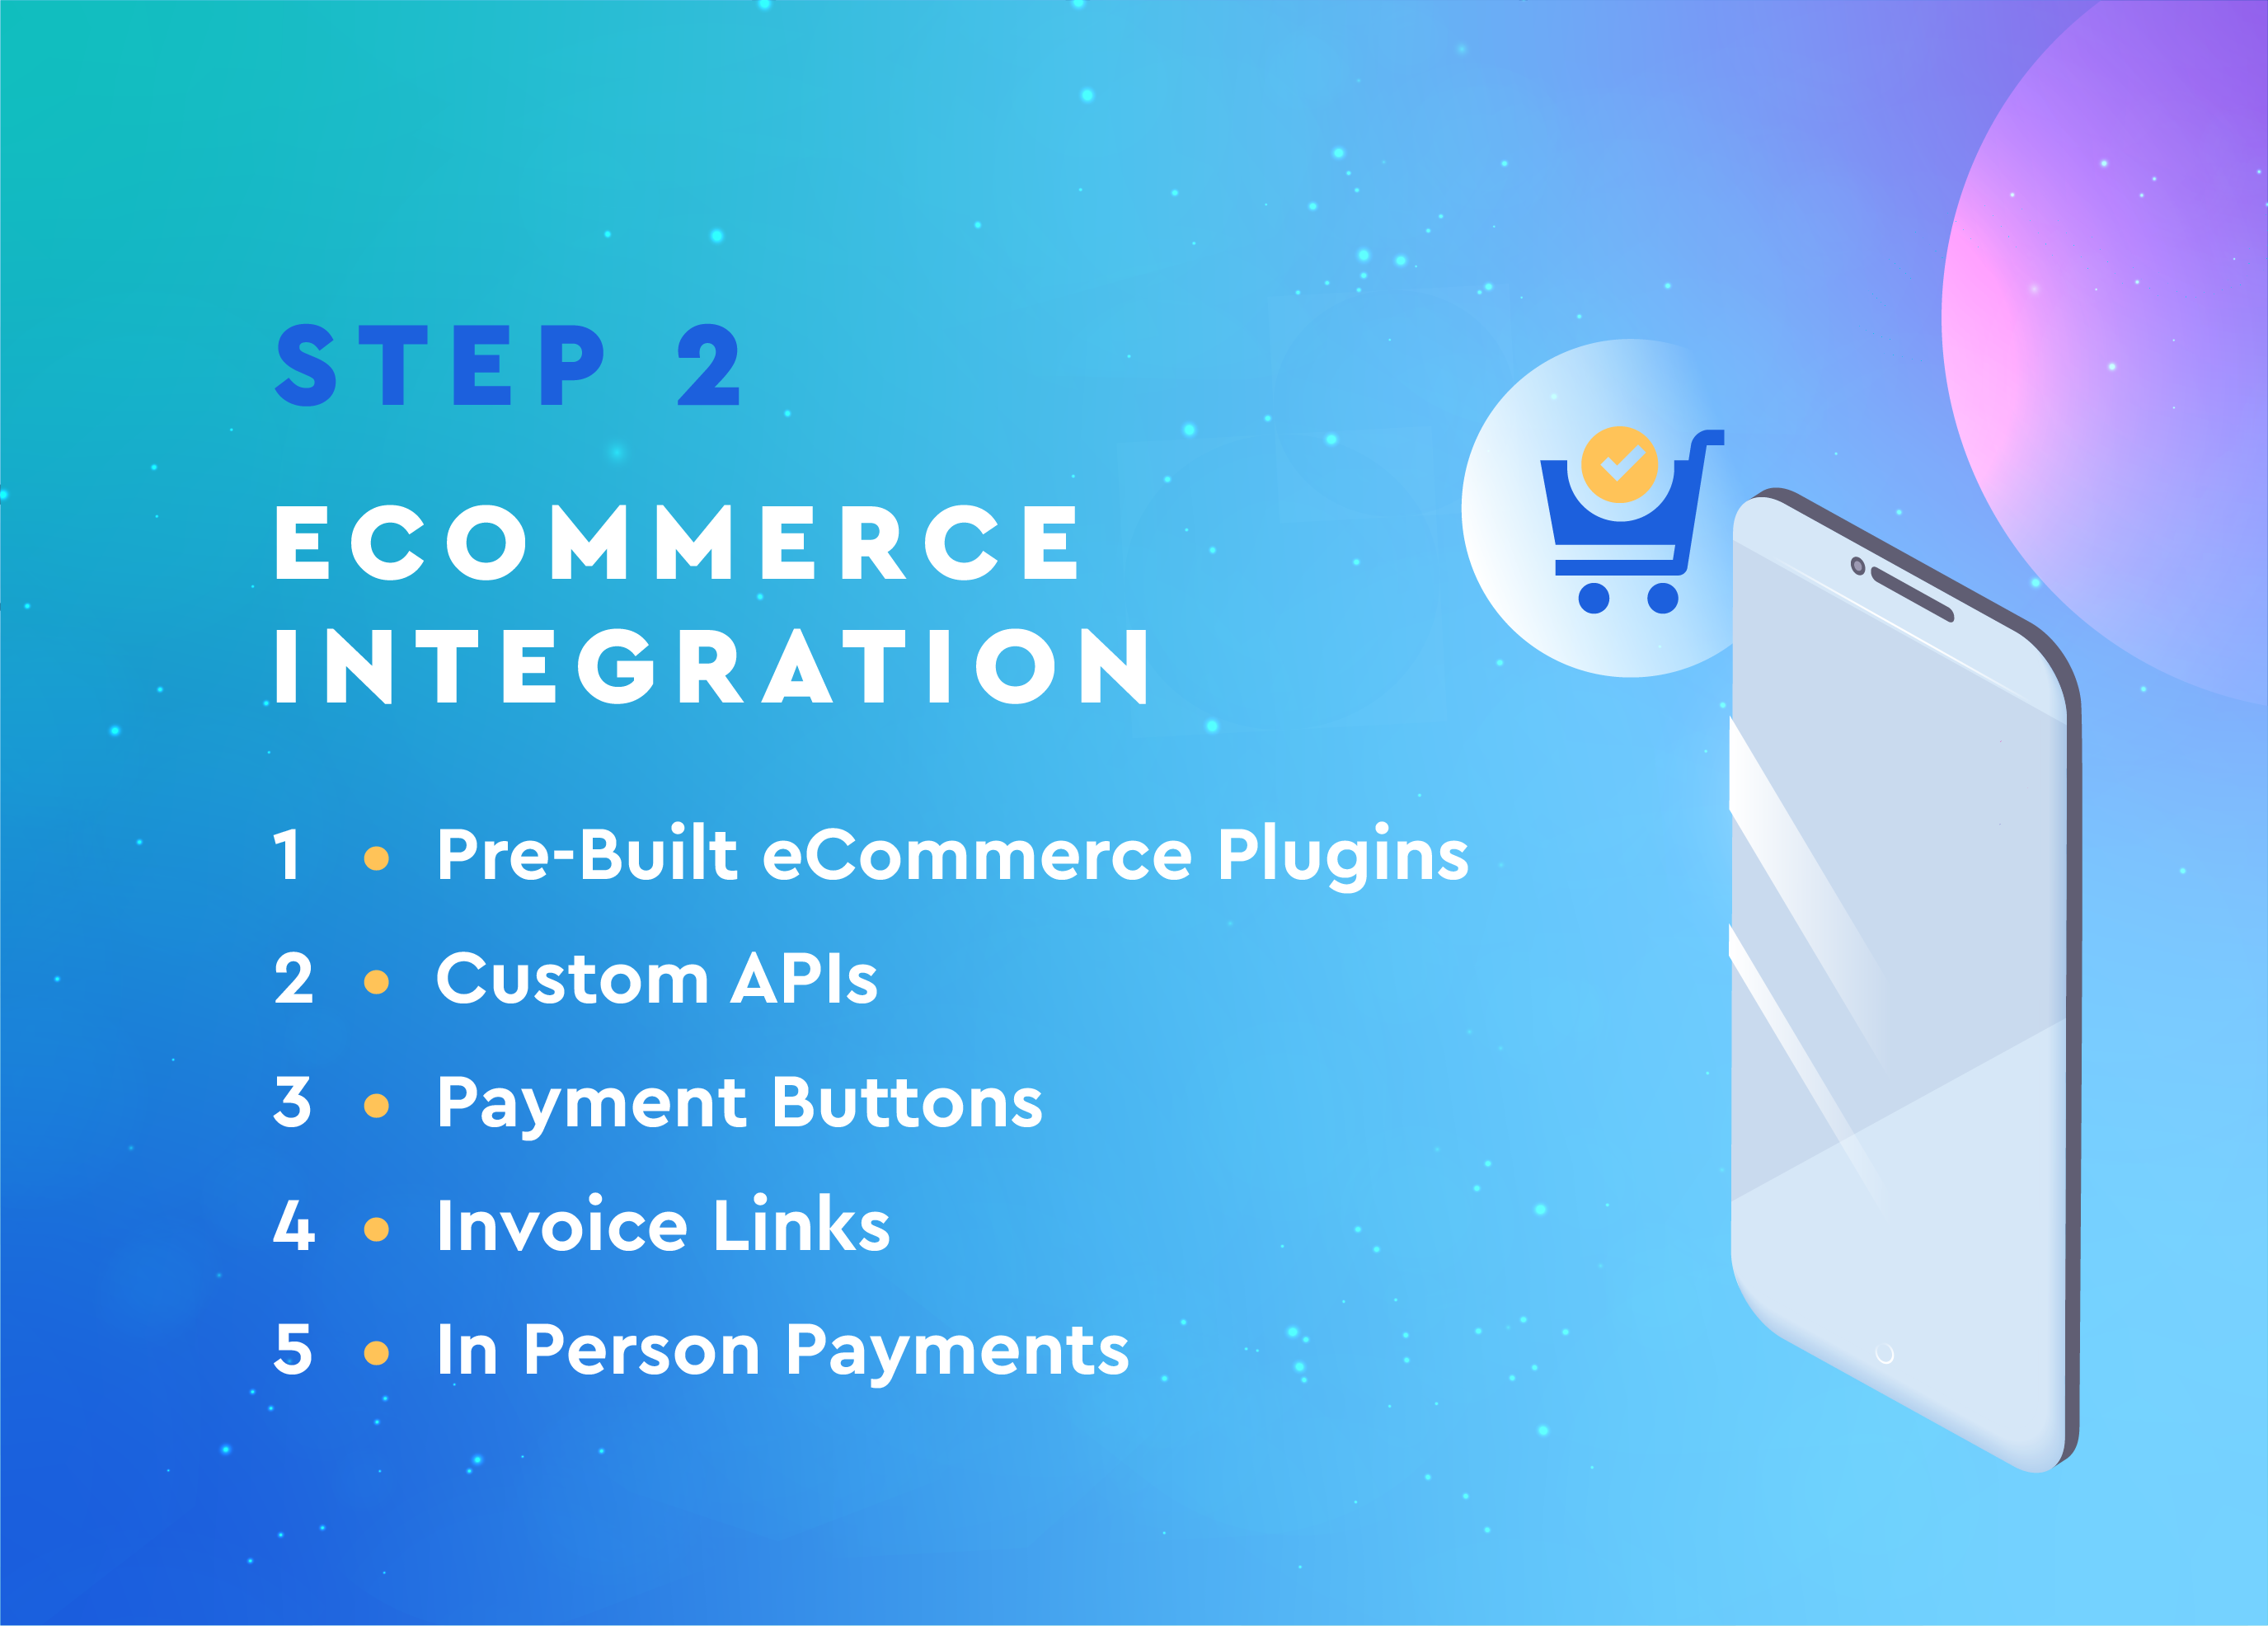
Relying on how a lot automation you’re in search of and what kind of platform you utilize to conduct your enterprise exercise, CoinPayments will be built-in by way of completely different instruments out there to companies:
-
- Pre-Constructed eCommerce Plugins
- Customized APIs
- Cost Buttons
- Bill Hyperlinks
- In-Individual Funds utilizing App or POS
1) Pre-Constructed eCommerce Plugins
There’s a full record of the pre-built plugins and integrations for all the most important eCommerce platforms.
Scroll by way of the record of pre-built plugins and integrations and discover the one similar to the eCommerce platform your enterprise makes use of.
Then, obtain the plugin that corresponds to your eCommerce platformInstall the plugin and edit the settings.
Subsequent, enter your MERCHANT ID and your IPN SECRET into the plugin settings to finish the combination.
(For Shopify customers, the method is barely completely different. Click on right here to study extra).
2) Customized APIs
Companies who’ve constructed a customized eCommerce platform can benefit from the effectively documented set of APIs to finish the combination.
Our APIs are the perfect option to combine CoinPayments into distinctive sorts of companies, like platforms that take care of funds for his or her customers, membership websites, on-line gaming websites, and every other kind of enterprise in search of automation with cryptocurrency funds.
There’s an overview of how our APIs work, the fee course of, and the 2 foremost sorts of funds.
To Customise your APIs:
- Begin by reviewing the documentation of our Immediate Cost Notifications (IPNs). This may assist offer you an thought of what particulars you possibly can anticipate to obtain by way of the response from the IPN.
- After reviewing the doc, you must look at the two various kinds of transactions used for accepting funds. When you resolve the suitable perform to make use of, you possibly can assessment the remainder of the documentation for our APIs.
- Take note, when utilizing our APIs, you will want to reference your API PUBLIC KEY and API PRIVATE KEY from STEP 1
- When you’ve gotten accomplished your integration utilizing our APIs, make certain to try it out utilizing a free cryptocurrency we assist referred to as Litecoin Testnet.
3) Cost Buttons
The Cost Button integration can assist companies rapidly incorporate cryptocurrency funds on a web site.
This function is good for companies who’ve single product choices, charities that wish to add a donation button, or every other enterprise the place the worth linked to a button is fastened (ie. no cart with a number of merchandise being added/eliminated).
You will get began with a Easy Cost Button, or you need to use an Superior Cost Button for permitting customers to change portions. If you happen to’re a charity, you possibly can benefit from a Donation Button with presets or adjustable quantities.
This step would require your MERCHANT ID or should you’re logged into CoinPayments, the sphere will probably be mechanically crammed in.
Upon getting crammed within the applicable info on your button, and chosen a picture to make use of on your button, click on the “Generate Button” button on the backside of the web page.
You’ll be redirected to a web page the place we’ll present the html code for the button you simply designed. Copy the code and insert it wherever applicable in your web site.
4) Bill Hyperlinks
Companies that bill purchasers for his or her services or products can use our Bill Builder to create an bill for a consumer and e-mail them the hyperlink. When the client decides to pay the bill, they simply must click on the hyperlink and comply with the prompts.
To get your fee hyperlink, it’s essential to fill out the knowledge within the Bill Builder. To proceed, you’ll require your MERCHANT ID or should you’re logged into CoinPayments, the sphere will probably be mechanically crammed in.
The bill hyperlink that’s generated is kind of lengthy, so you might wish to test the final field “Shorten URL with goo.gl” for a shorter hyperlink.
When you fill within the applicable info on your bill hyperlink, click on the “Generate Hyperlink” button on the backside of the web page. This may redirect you to a web page the place we’ll present the hyperlink you simply generated. From then, you possibly can copy the hyperlink and ship it to your buyer.
5) In Individual Funds
If you happen to want to use CoinPayments to just accept cryptocurrency funds in retailer or in individual, all you want is both a cellphone/pill with the CoinPayments App or a pc with the CoinPayments.internet web site.
Each strategies use the POS function, the place the enterprise will enter the quantity to cost the client, choose the fee coin, and hand over the fee display screen to the client with the intention to full the fee.
Utilizing the CoinPayments App
Obtain the CoinPayments App from the Play Retailer for Android or the Apple App Retailer. Then, signal into your CoinPayments account by way of the App ( you solely want to do that as soon as when establishing the App).
Once you open the CoinPayments App after setting it up, choose the highest “POS” possibility, and enter the quantity of the fee you wish to settle for. Then, choose the kind of coin for the fee, and present the client the ensuing fee tackle/QR code to allow them to full the fee.
Utilizing the CoinPayments Web site
Go to this hyperlink in case you are utilizing a desktop or laptop computer. This step would require your MERCHANT ID or should you’re logged into CoinPayments, the sphere will probably be mechanically crammed in.
Change the preliminary quantity to something you need (we advise $0.00). That is solely the pre-populated quantity within the POS entry system and will probably be modified for each transaction.
Choose whether or not you prefer to customers to have the ability to change fee currencies. Then, click on “Generate Hyperlink” on the backside of the web page.
As soon as that’s accomplished, copy this POS Hyperlink that was generated and put it aside someplace useful. That is the hyperlink you’ll go to each time you wish to entry the POS system to just accept an in-person fee from a buyer.
When a buyer needs to make a fee, go to the POS Hyperlink and fill within the quantity of the fee you wish to obtain. Choose a coin for fee and present the client the ensuing fee tackle/QR code to allow them to full the fee.
Now that you simply’re accustomed to the assorted methods you possibly can settle for funds out of your clients utilizing the CoinPayments platform, it is possible for you to to higher resolve which technique is good for your enterprise.